Watch FillFaster Submissions in Make
In the previous guide, we learned how to generate a unique link and send it to a client. Now we’ll cover the second part: how to listen for the moment when the client finishes signing the form, pull the signed PDF file automatically, and send it back directly to your CRM (such as monday.com, HubSpot, Salesforce, and others) or by email.
Step 1: Set up the trigger in Make.com
Section titled “Step 1: Set up the trigger in Make.com”Log in to your Make.com account and create a new scenario.
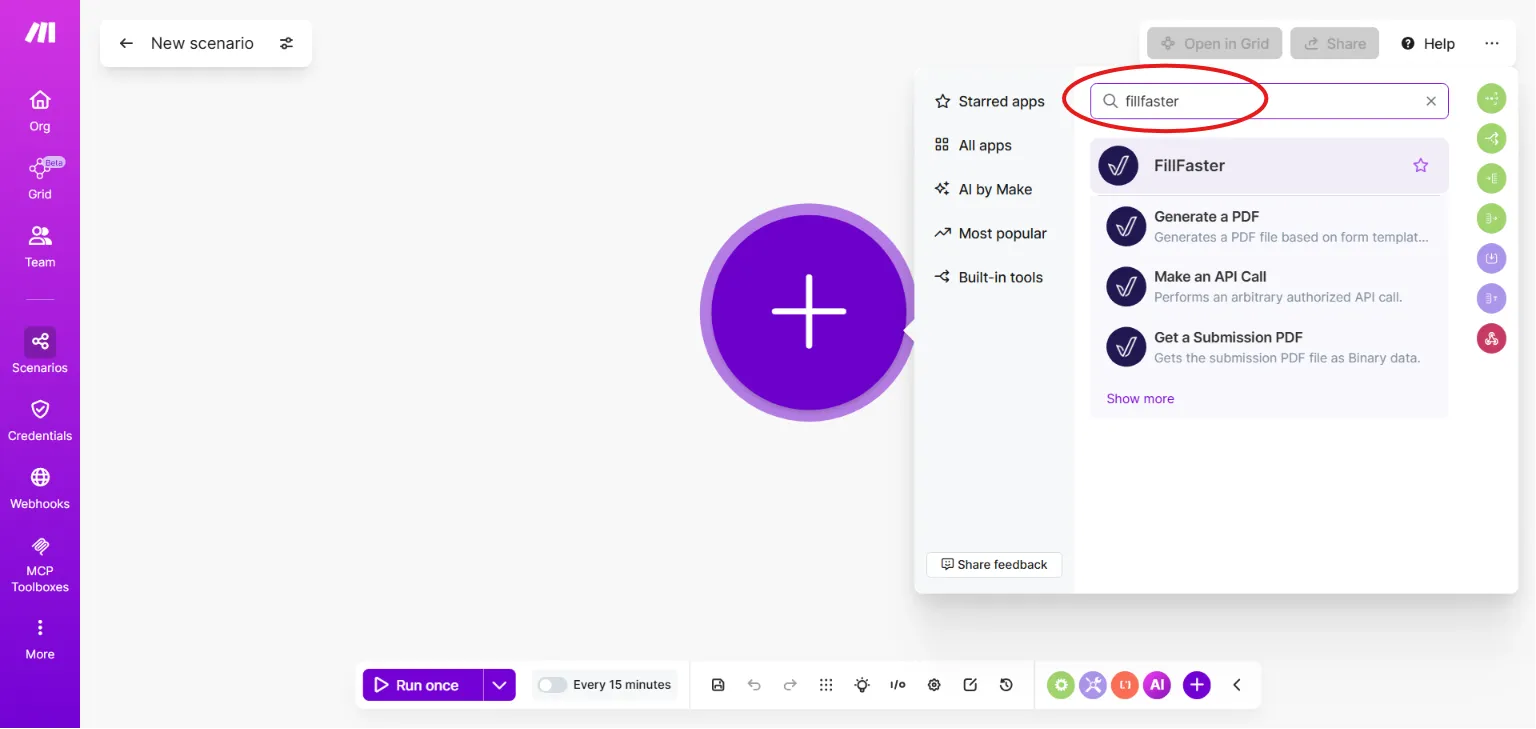
Click the + button to add the first module.
Search for and select the FillFaster app.
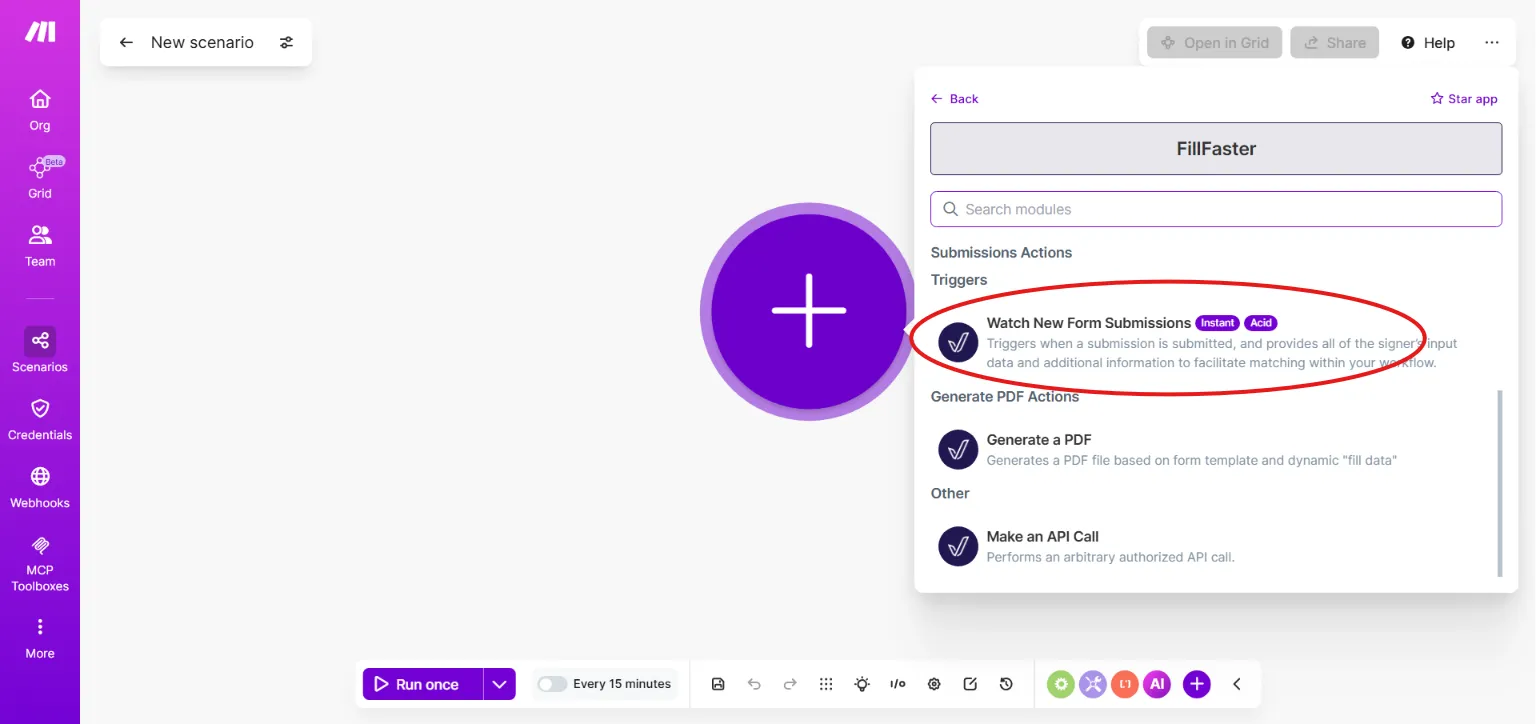
From the list of options, select the trigger called Watch New Form Submission.
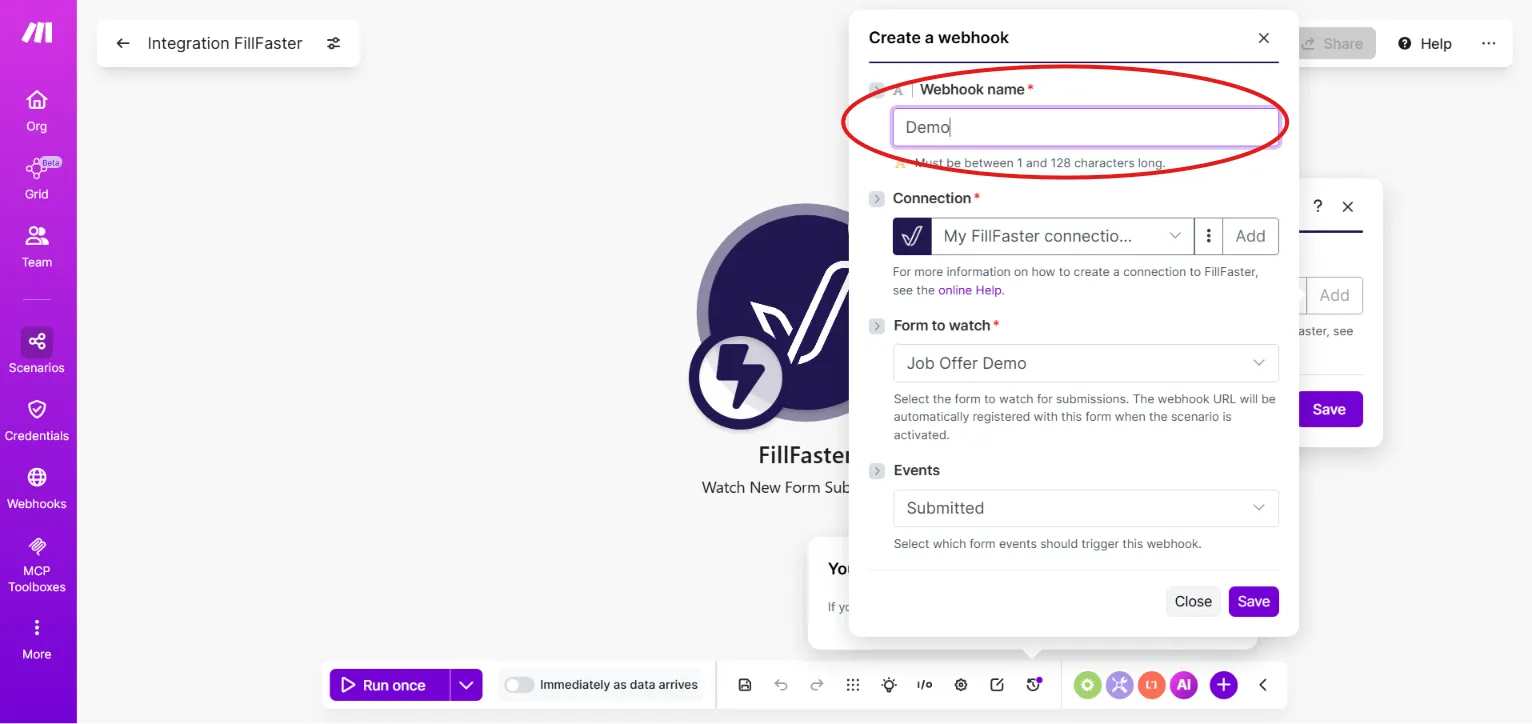
In the window that opens, click Add to create a new webhook. Give it a clear name (for example: “Signed forms intake - health form”). Select the relevant template and click Save.
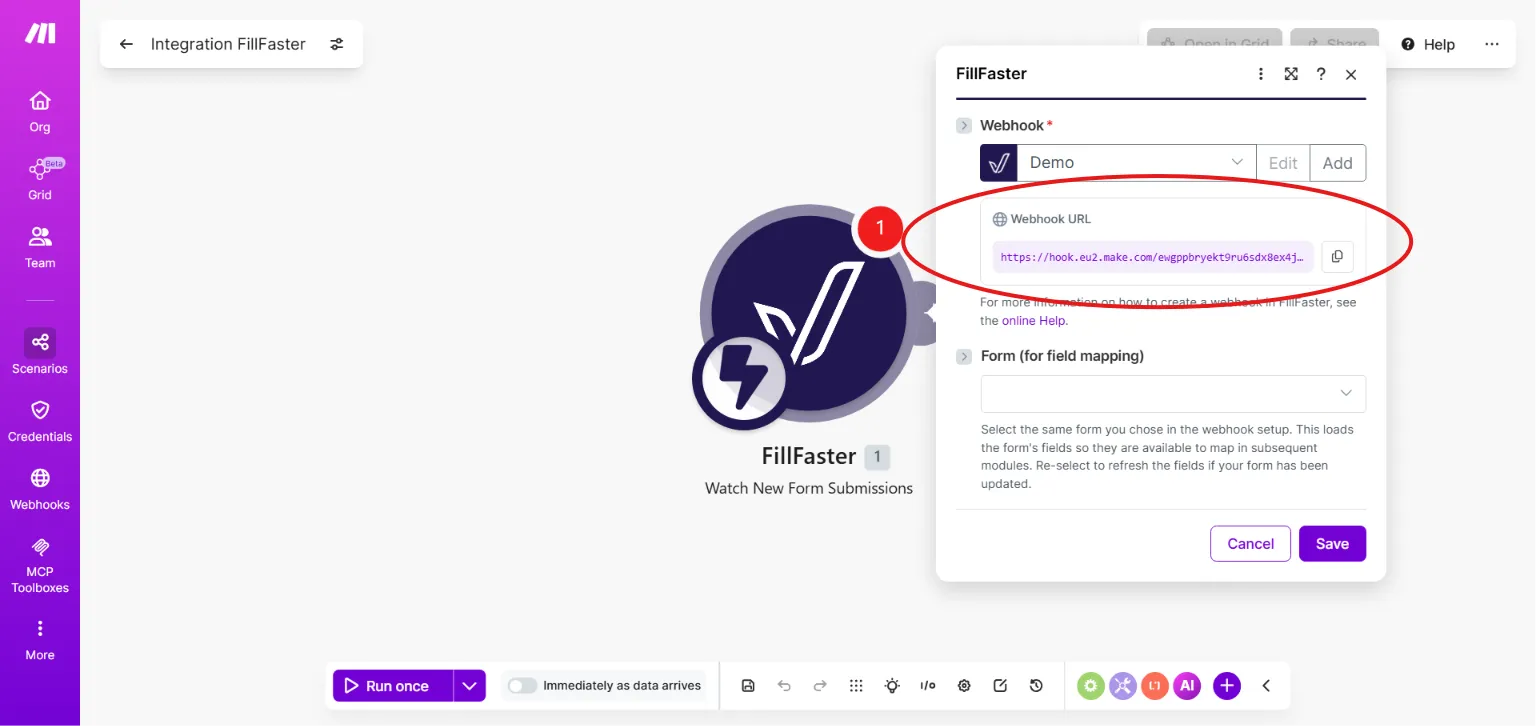
After clicking, the system displays a long URL. Click the Copy icon.
Don’t close the Make window yet.
Step 2: Configure the webhook in FillFaster
Section titled “Step 2: Configure the webhook in FillFaster”Now we need to tell FillFaster where to send the information each time someone signs.
Open a new browser tab and log in to your FillFaster account.
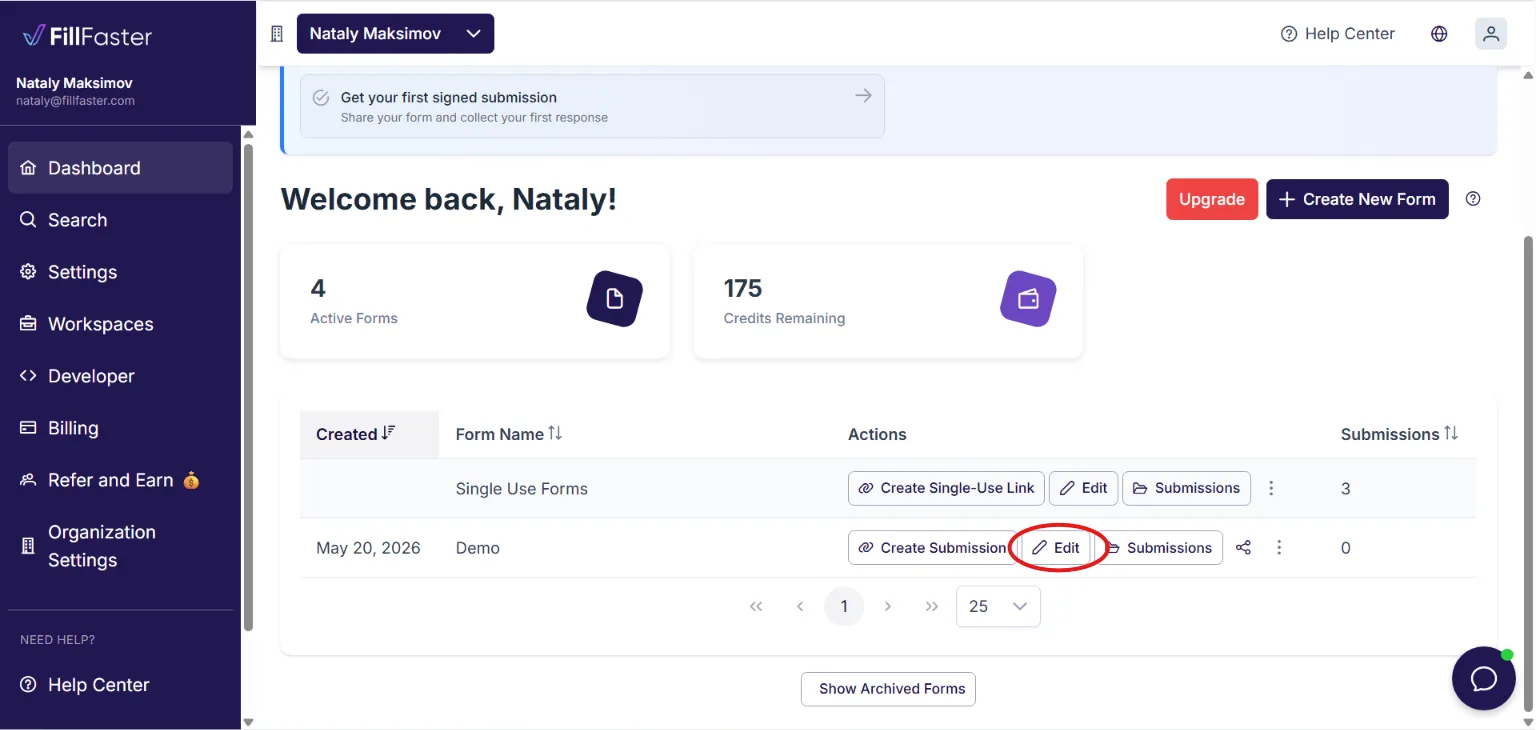
On the main screen (Dashboard), find the form template you want to monitor and click Edit.
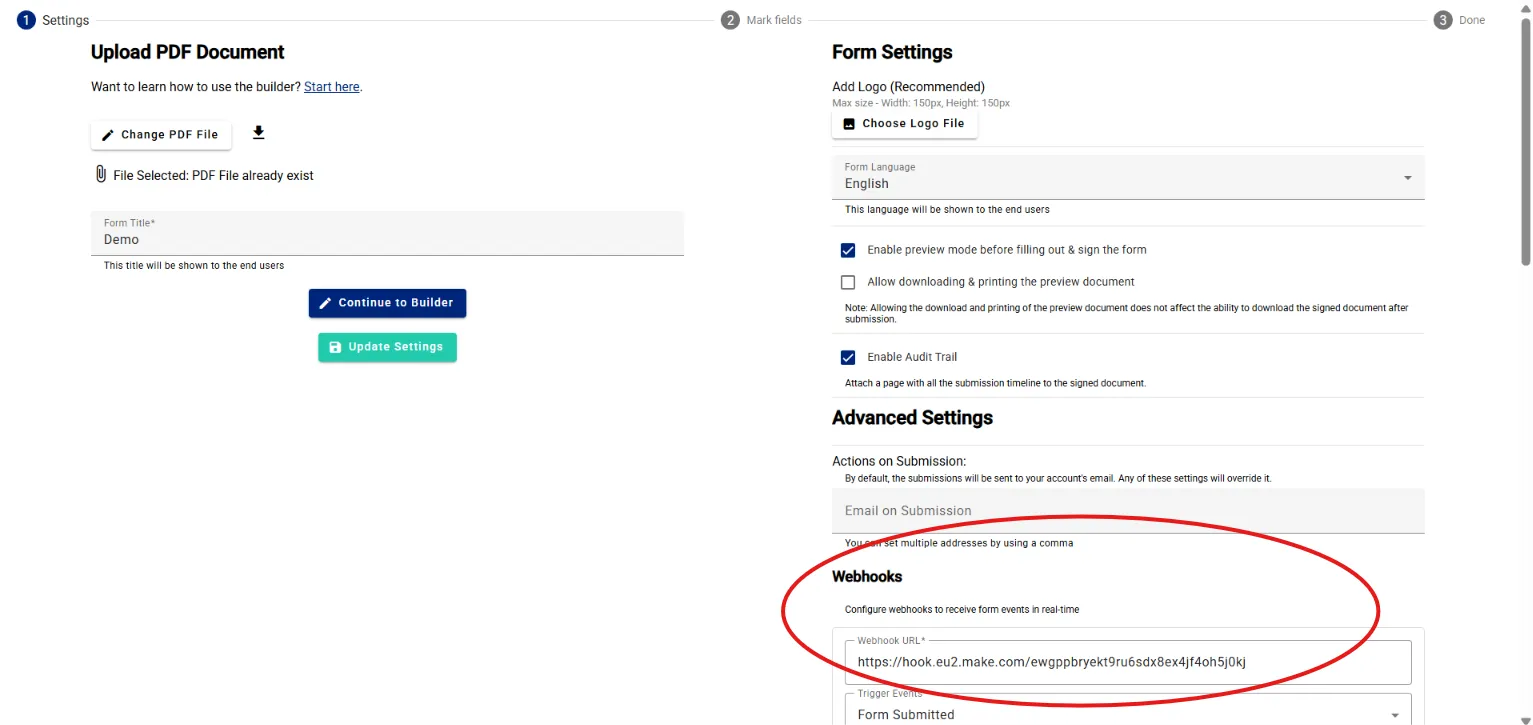
In the form editor, scroll down the menu until you reach the field called Webhooks.
Paste into this field the URL you copied in the previous step from Make.com.
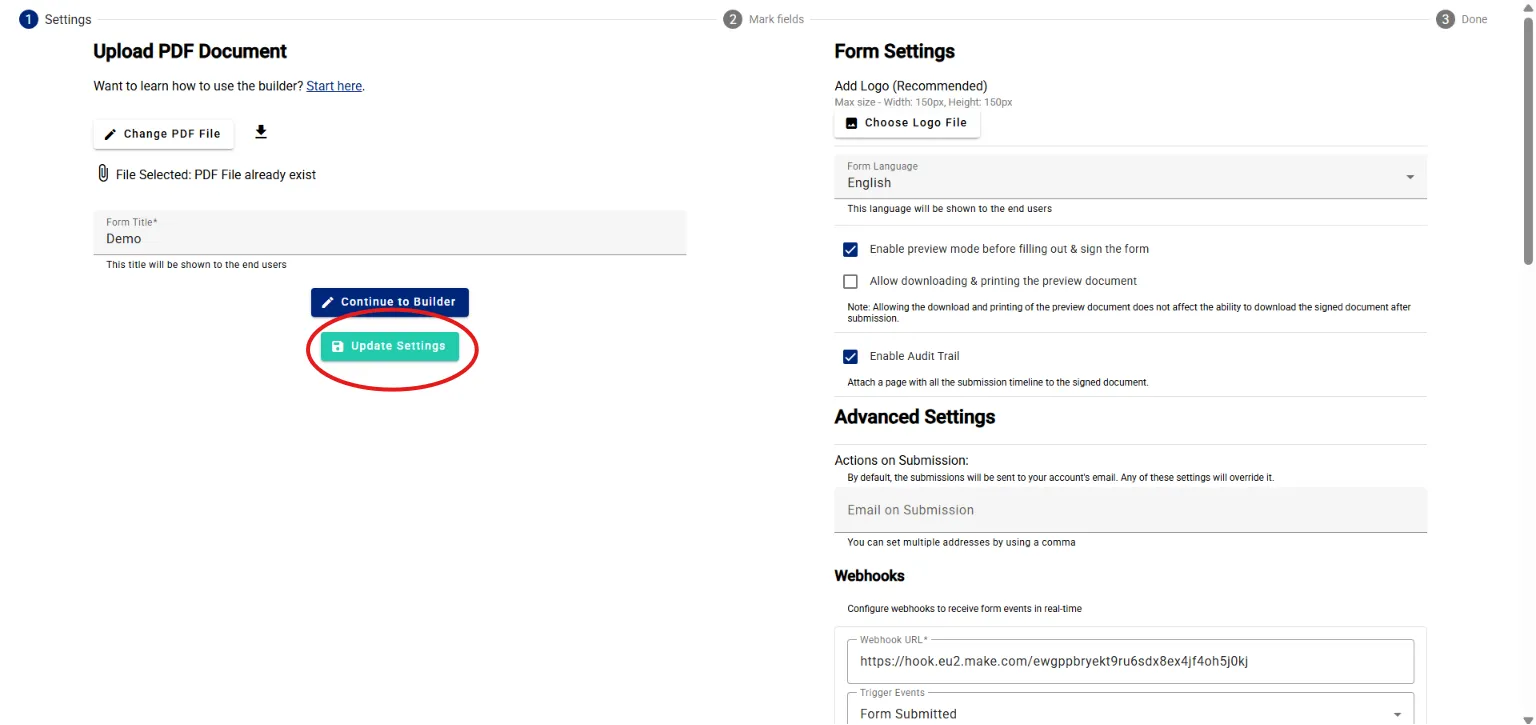
Click the Update settings button.
Step 3: Retrieve the signed PDF file
Section titled “Step 3: Retrieve the signed PDF file”The data received from the trigger includes structured details, but it does not yet include the PDF file itself. To pull the actual file, add another step:
Click + to the right of the FillFaster bubble to add another module.
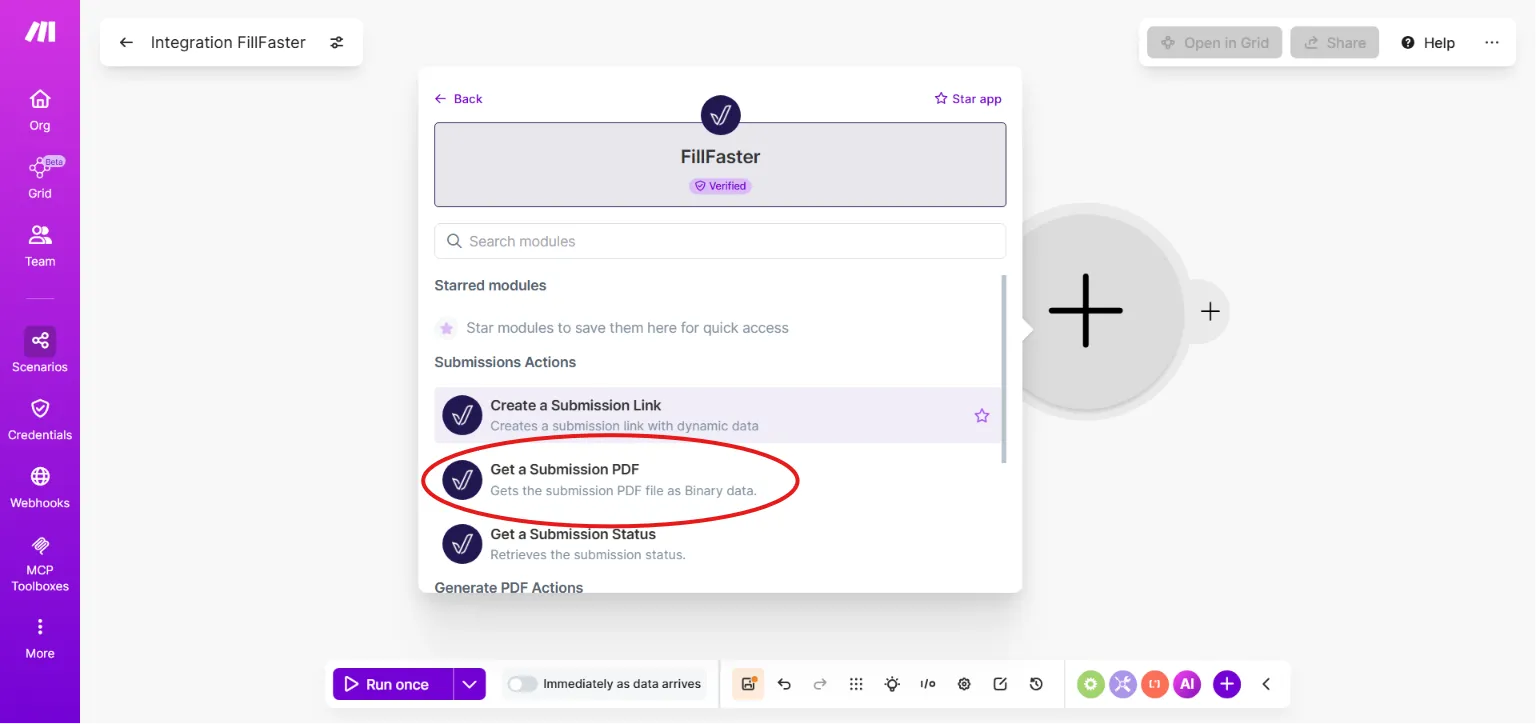
Select the FillFaster app again.
This time, choose the action module called Get a Submission PDF.
In the required Submission ID field, click the box and map (drag) the Submission ID field that came from the first bubble (the trigger).
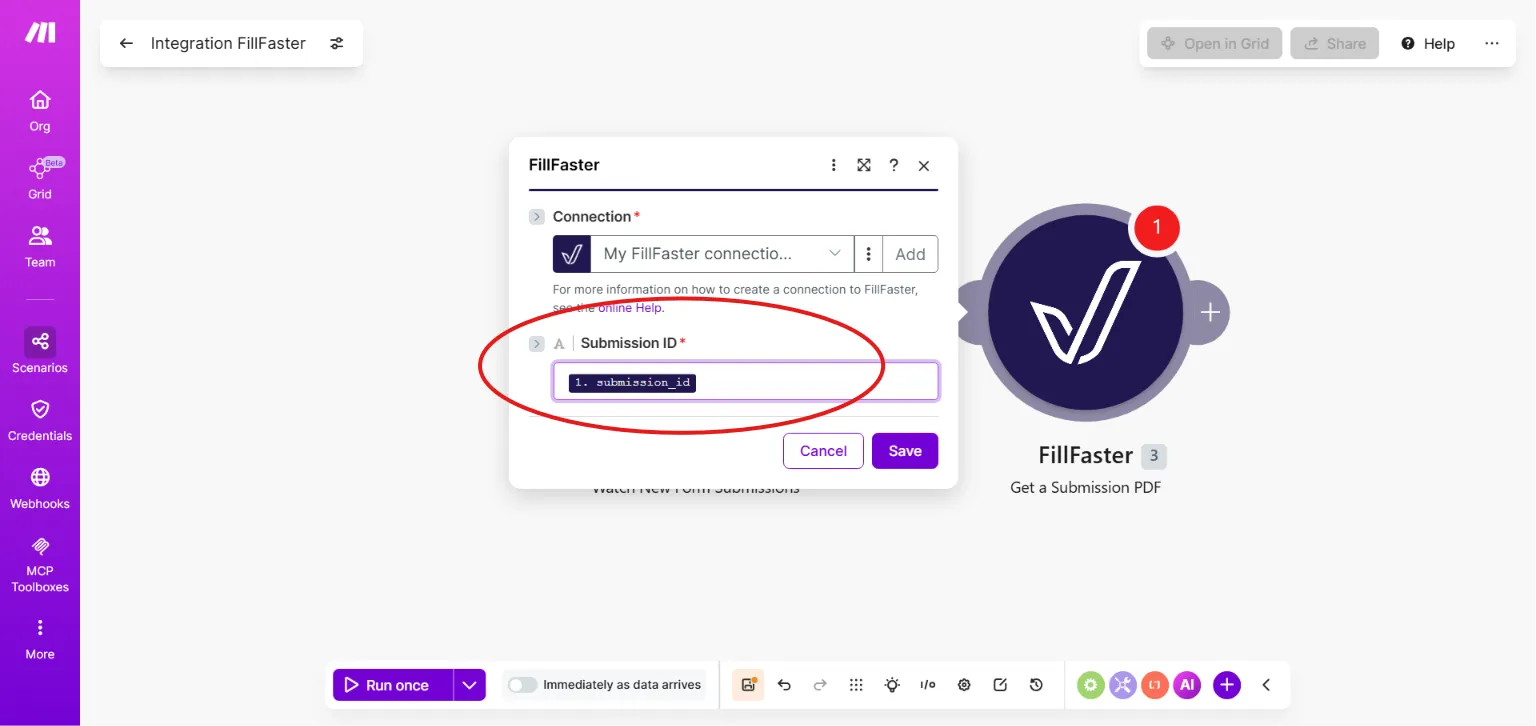
Click Save. From now on, this step downloads the actual PDF file into Make’s memory each time a submission is completed.
Step 4: Return the file and data to your CRM (optional)
Section titled “Step 4: Return the file and data to your CRM (optional)”This is the final and most important step, where you close the loop and update your management system.
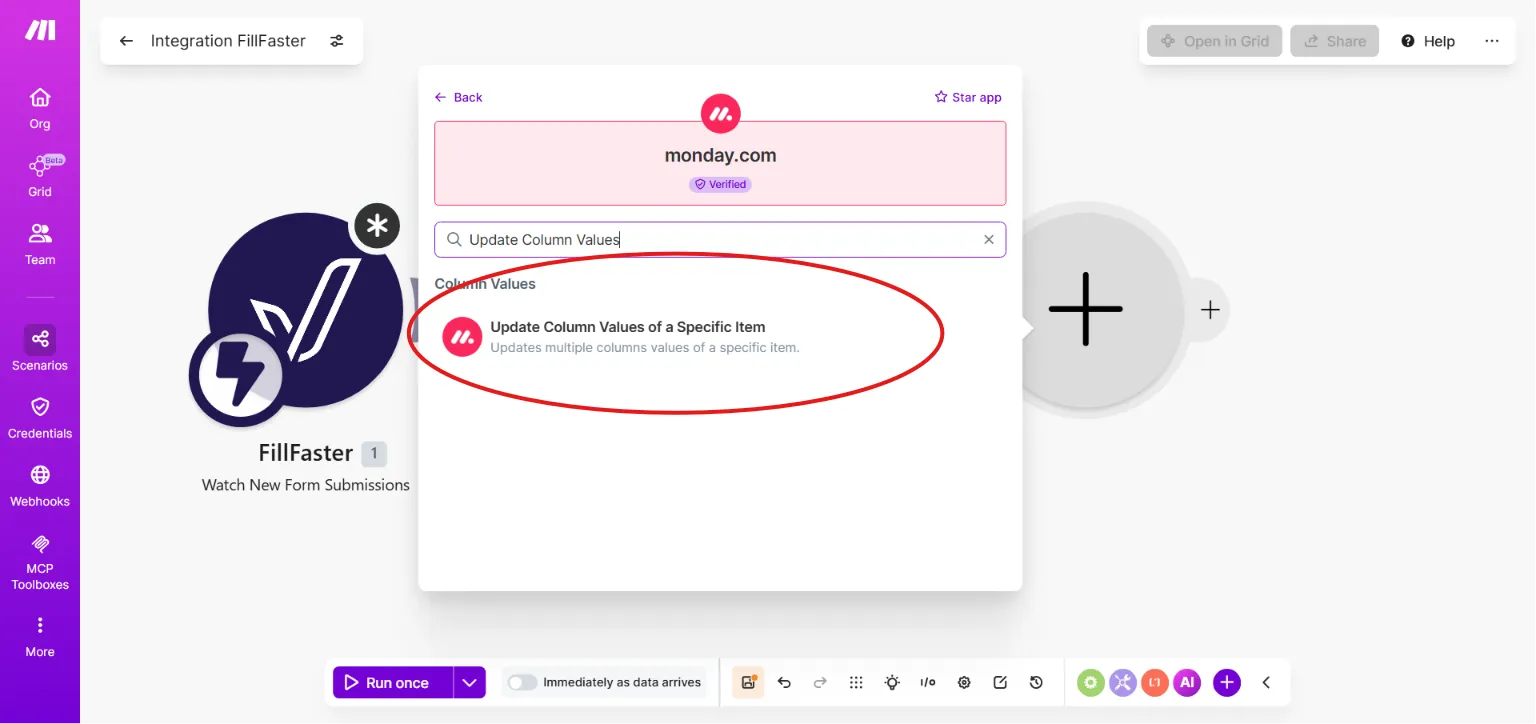
Add a third module to the scenario – this time from your CRM (for example monday.com, HubSpot, Salesforce, etc.).
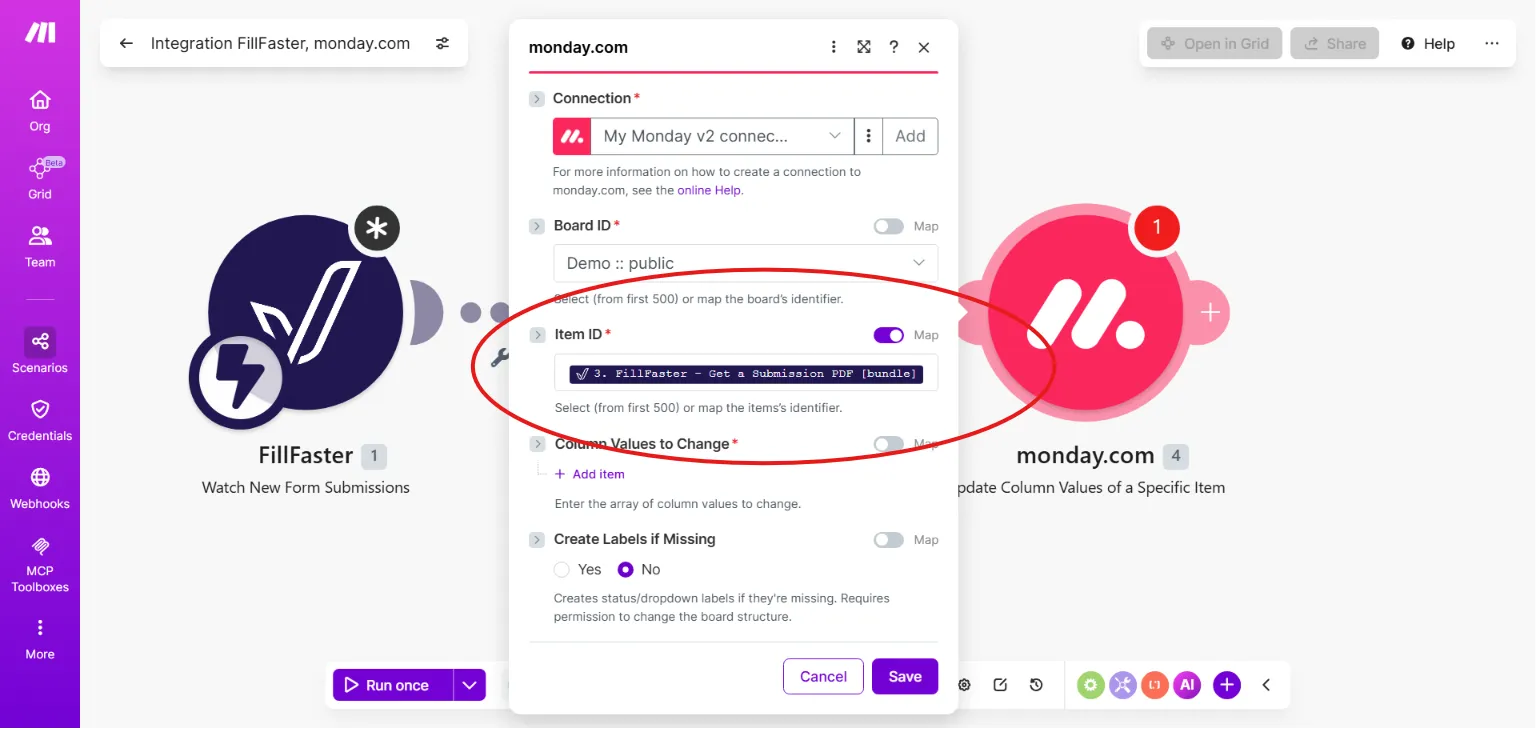
Choose the appropriate action for uploading files or updating fields in your CRM system (e.g., Upload a File, Create an Attachment, or Update a Record).
In the File field that your CRM requests, select the output from the second bubble (Get a Submission PDF). Make will take the actual signed file and attach it directly to the correct customer record or deal in your CRM.
🎉 Summary: the winning result
Section titled “🎉 Summary: the winning result”Once this scenario is active: The client signs the form 👉 FillFaster notifies Make 👉 Make pulls the signed PDF 👉 Make goes to your CRM, finds the customer by their ID, and uploads the signed contract directly to their files column!
Thank you for using FillFaster. See you in the next guide!