How to Set a Non-Editable Field
Creating a non-editable field (read-only) in FillFaster’s Form Builder is a simple process. Follow these steps to ensure your form fields are set up correctly and cannot be edited by recipients.
Notes:
- Non-editable fields will only appear on the PDF version of the form and not on the web form, making them part of the document’s static content.
- This feature is especially useful for fields like prices, plans, and other static information that should not be altered by the person filling out the form.
Step 1: Access the Form Builder
Section titled “Step 1: Access the Form Builder”- Navigate to your dashboard.
- Click on “Create a Template Form” or “Edit Form” for an existing one.
- Click on “Start Mapping the Form” to enter the Form Builder interface.

Step 2: Add a New Field / Edit an Existing Field
Section titled “Step 2: Add a New Field / Edit an Existing Field”- In the Form Builder, drag a new field from the list on the left to the desired location, or select an existing field.
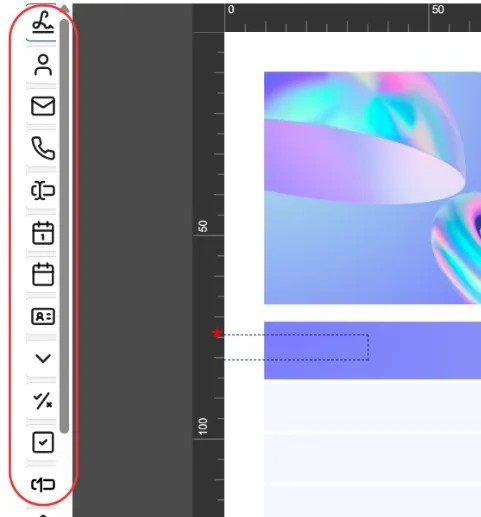
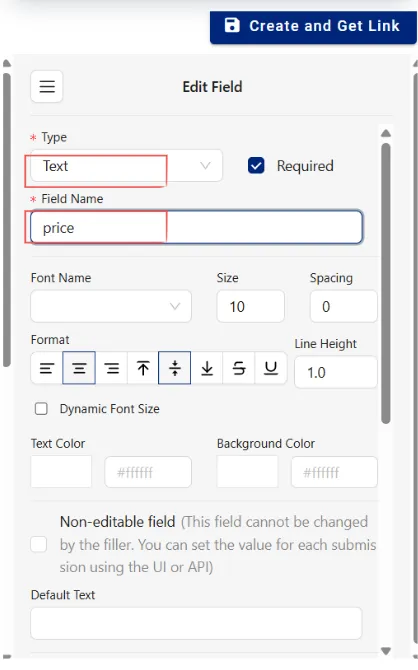
- Enter the name of the field, for example, “Price.”
Step 3: Set the Field as Non-Editable (Read-Only)
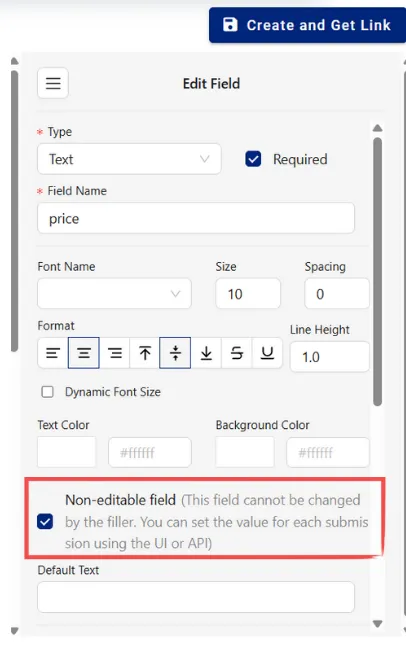
Section titled “Step 3: Set the Field as Non-Editable (Read-Only)”- Check the box labeled “Non-editable field” to ensure the recipient cannot change the field.
- Optionally, you can set a default value for the field. This value will be displayed if no data is provided when creating a submission (either via the dashboard or the API).
Step 4: Save and Update the Form
Section titled “Step 4: Save and Update the Form”- Once all fields have been added and configured, click “Create and Get Link” to generate the form link.
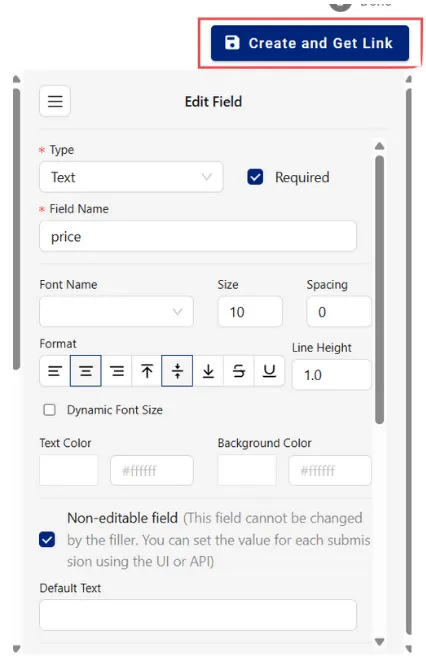
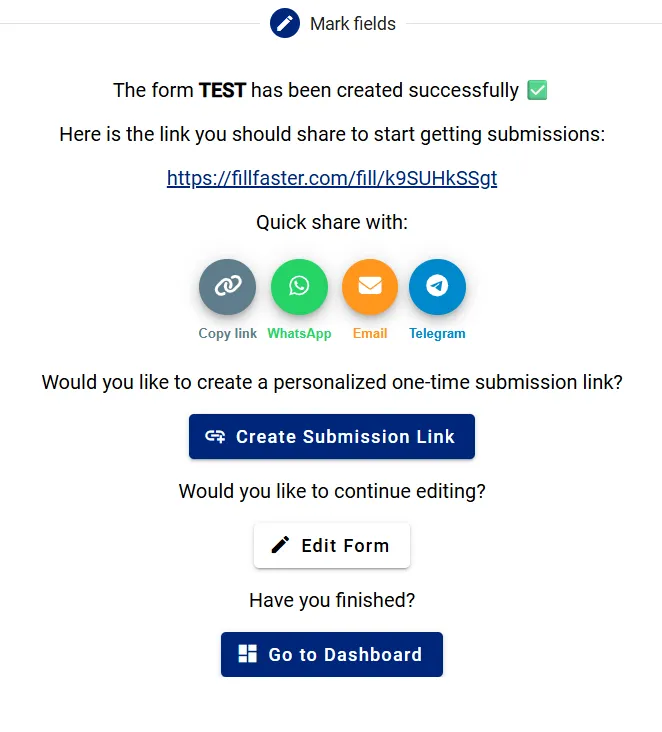
- You can now share this link with your clients.
By following these steps, you can effectively add and configure non-editable fields in your FillFaster forms, ensuring that certain information remains unchanged and is presented as intended.