Connect FillFaster to Make.com for the first time
Connecting FillFaster to Make.com is a great way to streamline your document workflows. Let’s walk through the steps:
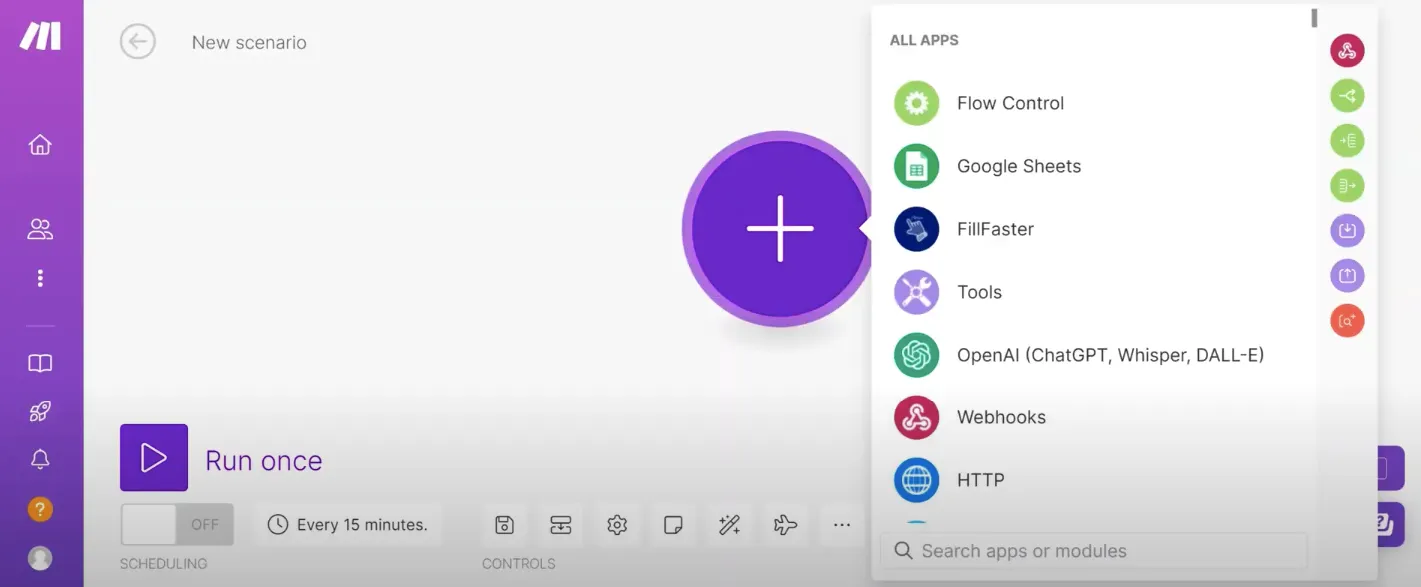
1. Create a New Scenario
Section titled “1. Create a New Scenario”Create or open a scenario in Make.com and add a new module.
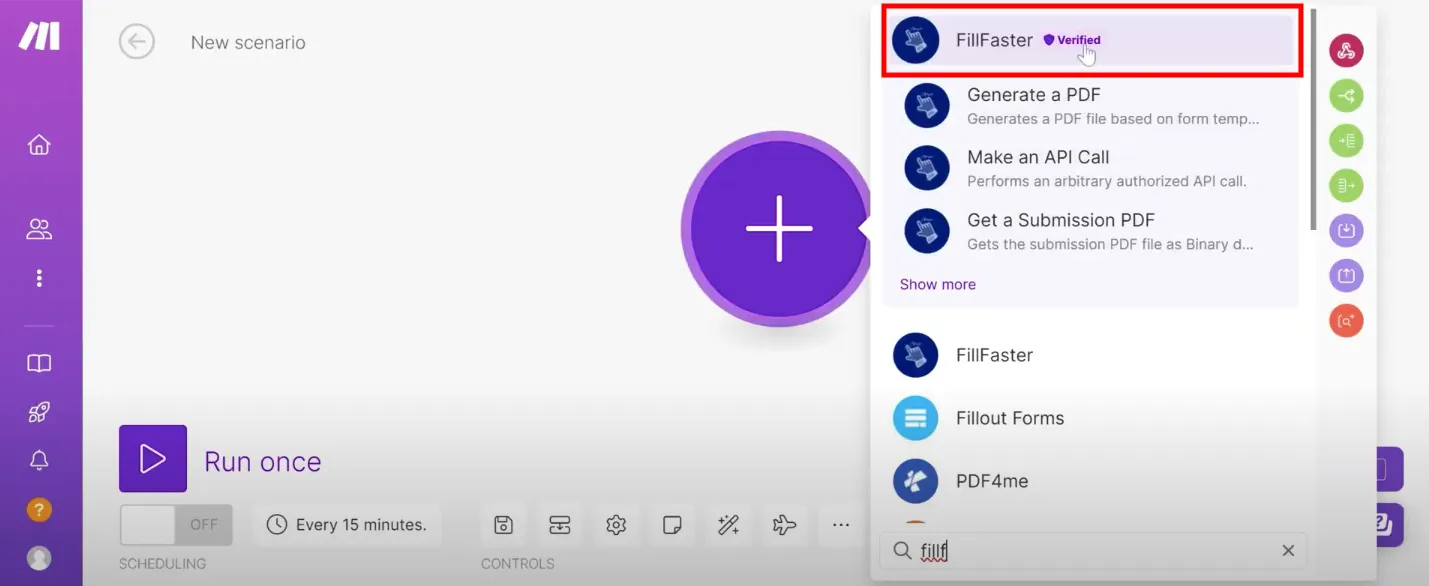
2. Find the FillFaster App
Section titled “2. Find the FillFaster App”In the module list, search for and select the FillFaster app.
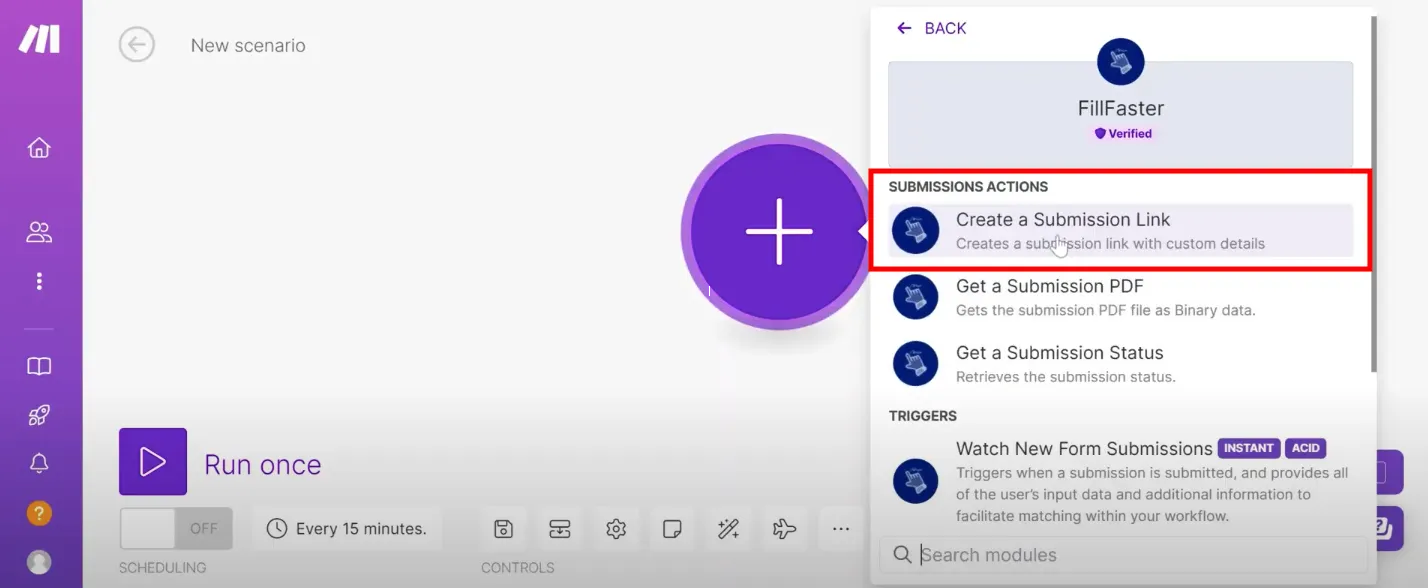
3. Create a New Connection
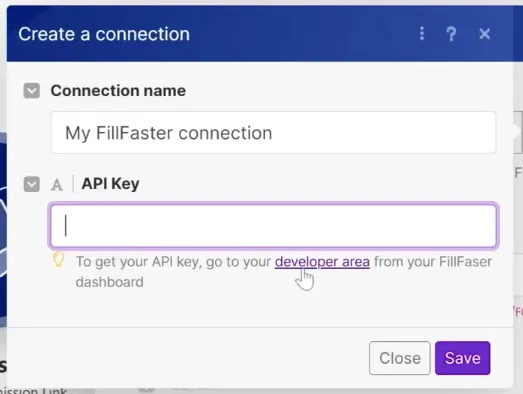
Section titled “3. Create a New Connection”- Choose any action or trigger you need.
- Click “Add” to create a new connection.
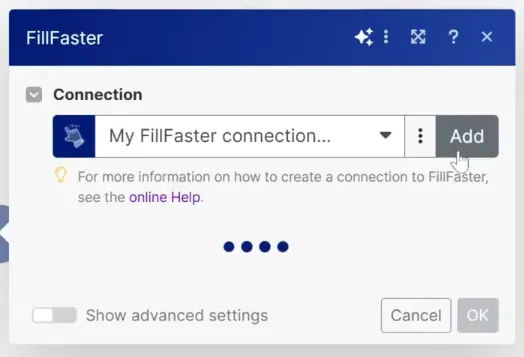
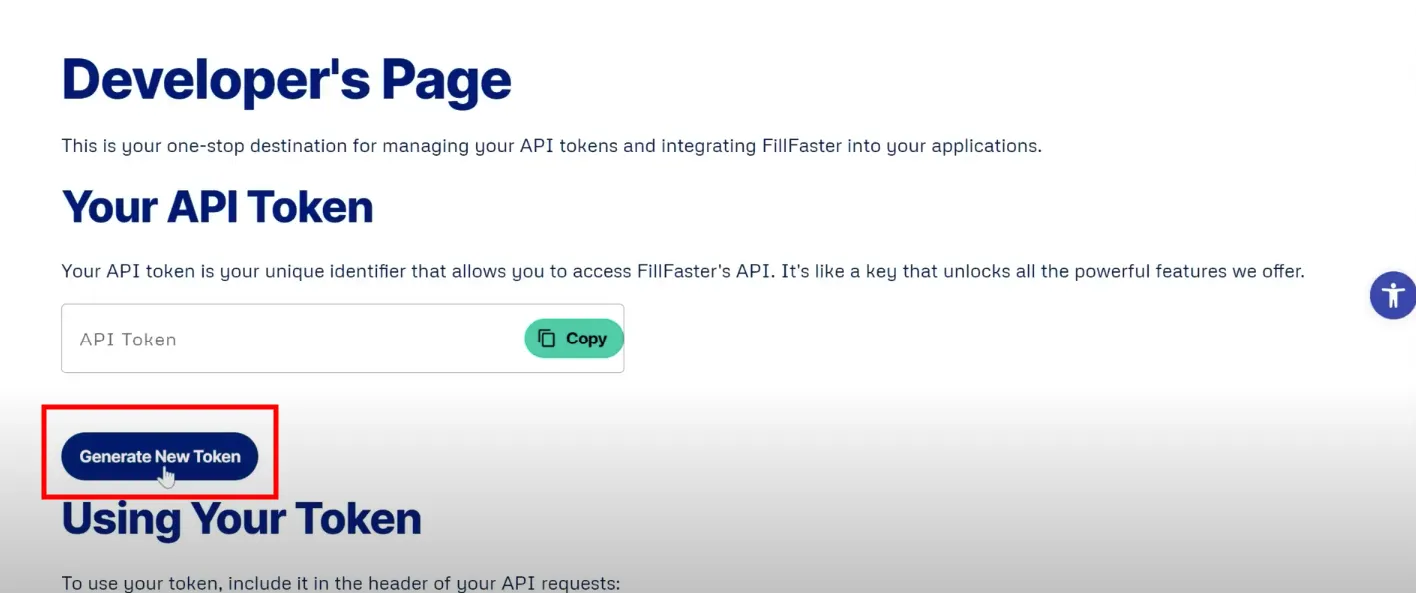
- To get your API key, go to your account developers page.
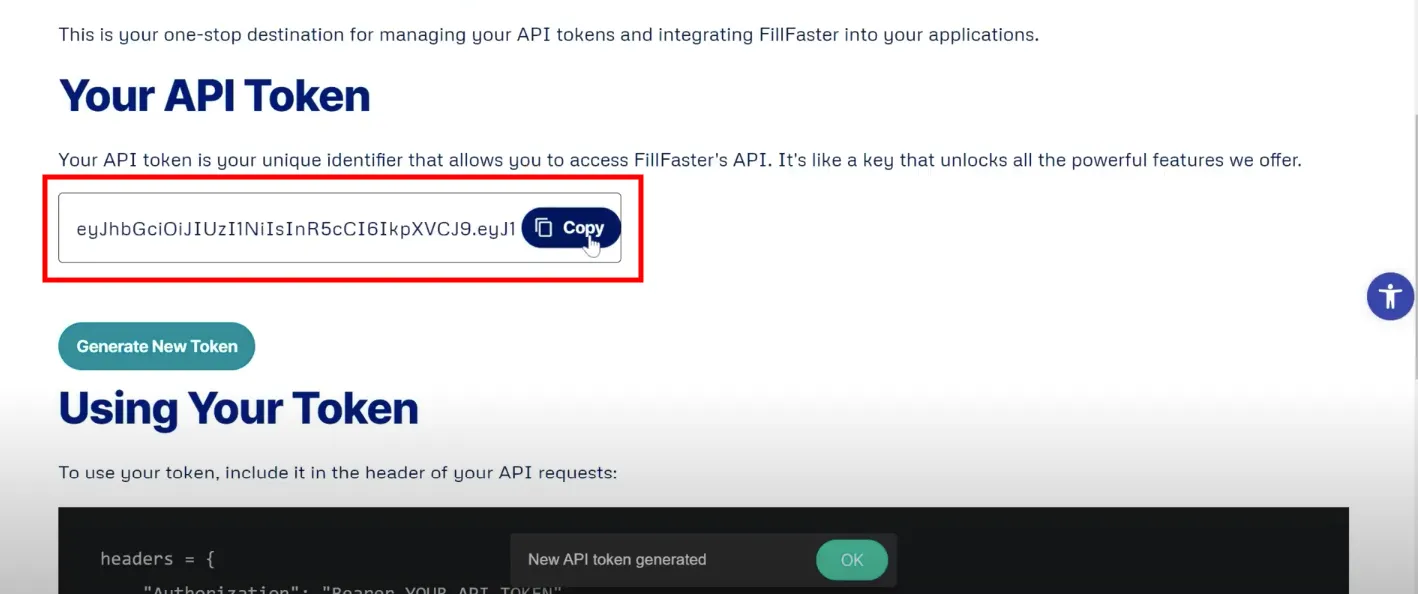
- If it’s your first time, you won’t have an API token yet. Click “generate a new token.”
- Once you get the token, click “copy” to copy it to your clipboard.
4. Paste the API Token in Make.com
Section titled “4. Paste the API Token in Make.com”Paste the copied API token into the connection setup in Make.com.

5. You’re Connected!
Section titled “5. You’re Connected!”Once connected, you can access all your forms and other data. Verify that the connection is successful. 🎉
By integrating FillFaster into Make.com, you’ll be able to create personalized form submission links, retrieve signed submission data via webhooks, and obtain PDF copies of signed documents.
Remember, if you encounter any issues during the setup, refer to the official FillFaster documentation or reach out to their support team for assistance. Happy automating!